Programming the Arduio
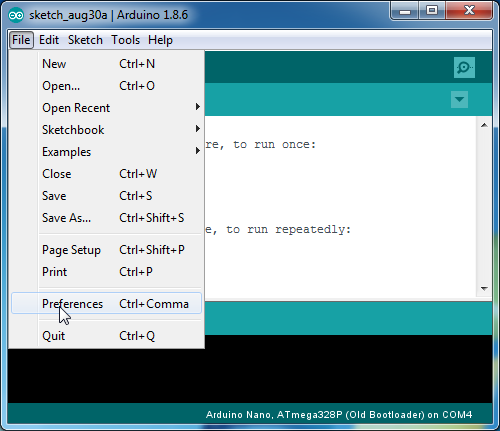
Before we build the Arduino board, we are going to want to program the Arduino. For this you must install the Arduino IDE which can be found here. After you have install the software you are going to need to download the needed libraries which are included in the Robot Tools download which can be found here. If you haven’t done so already, unzip the file onto your desktop. If you open the RobotTools folder you will find a sub-folder named Arduino which you need to set up as your Sketchbook location. To do this, choose the Preferences option from the File menu:
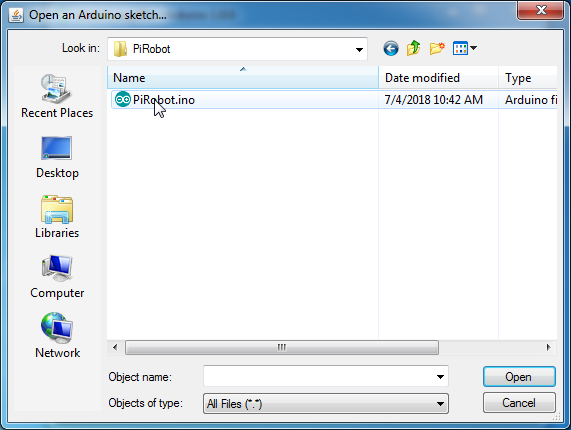
Which should bring up the following dialog:

Set the Sketchbook location field to point to the location of the Arduino sub-folder that you placed on your desktop.
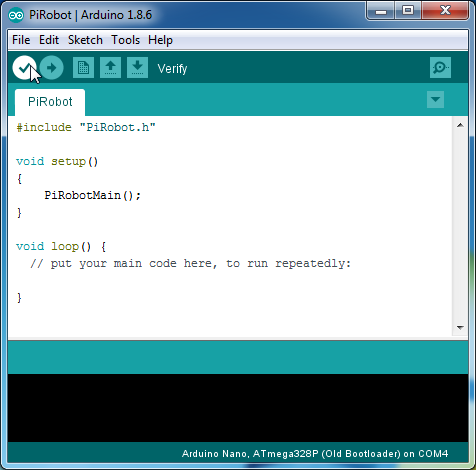
Close and restart your Arduino program. Now open the Arduino project named PiRobot.
Which should open the following sketch:

Now connect your Arduino to your computer using a USB cable. After the drivers have been installed (which may take a while), you should be able to select the COM port for your device from the Tools menu.
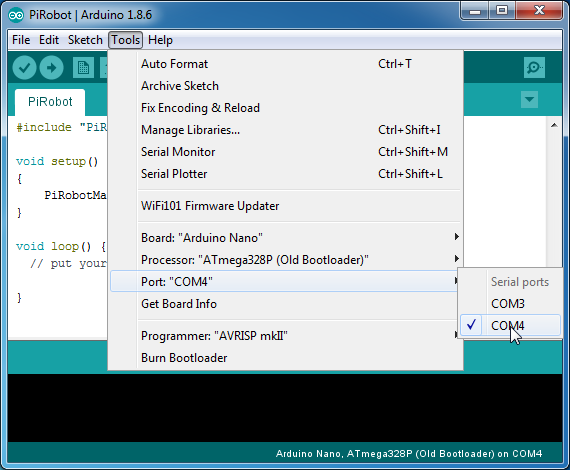
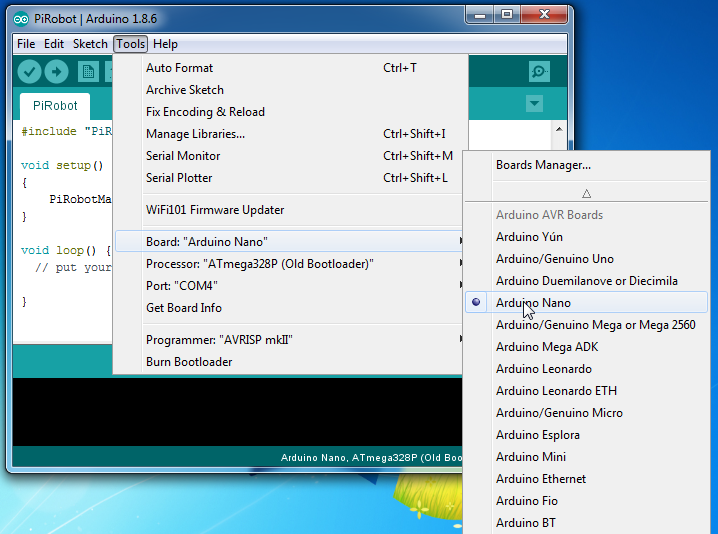
You will also need to specify the type of Arduino you are using, again from the Tools menu:
Now click the little right arrow button in the upper left to compile and download the program to your Arduino.
Once it has been downloaded, open a Serial Monitor window by clicking on the little magnifying glass in the upper right corner:
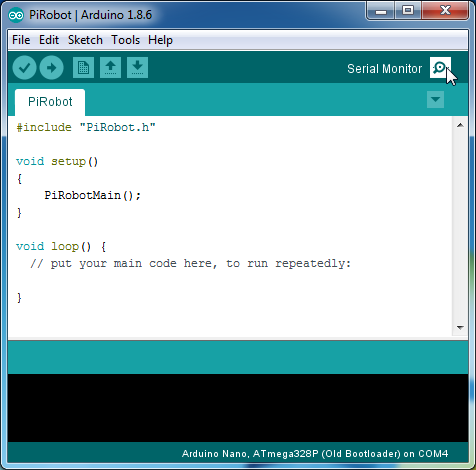
When the window is open make sure that the baud rate in the lower right corner is showing 115200 baud.

If the window now looks like the one above, you have successfully programmed your Arduino. Disconnect it from your computer and it is ready to go.