Testing The Wiring
This chapter walks you through installing and running a robot program that you can use to test to make sure the robot is wired correctly. As mentioned in the Wiring The Robot section, you can either completely wire your robot and then run these tests, or run each test as that portion of the wiring the robot is complete.
If you have not already installed and configured Eclipse, please do so by following the Installing Tools tutorial.
The first thing we want to do is import the WiringTest robot project. Open Eclipse and select the File/Import option from the menu:
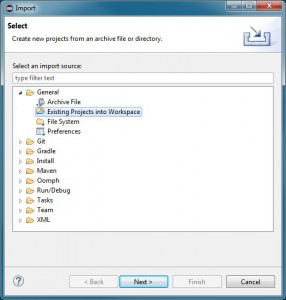
Which should open the following dialog box:
Open the General section and choose the Existing Projects into Workspace option as shown and press Next.
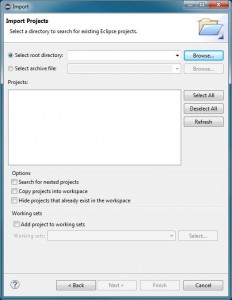
Then click the Browse button and select the WiringTest folder from your workspaceJava folder:
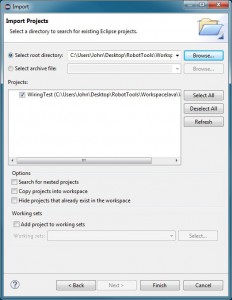
Click OK and your Import dialog should now look like:
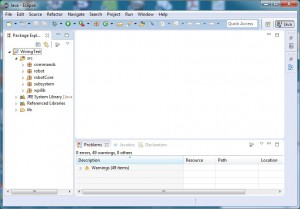
Click Finish and the imported project should appear in Eclipse. You may need to expand the panel on the left by clicking on the little icon at the top of the panel.
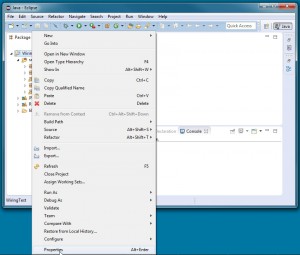
There is one last thing that we need to check before we try and run our program on the robot. The version of Java running on the robot is 1.7 and we need to make sure that we are using that version when we build our program. Right click on the WiringTest project on the left and choose Properties.
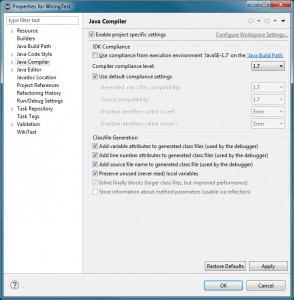
Then select Java Compiler on the left and make sure that the Compiler compliance level is set to 1.7. You may need to check the Enable project specific settings and un-check the Use compliance from execution environment boxes.
Now turn your robot on and connect your computer to the WiFi network to which your robot is connected. If you have your robot configured as an access point, connect to the robot. Otherwise, if your robot is configured to connect to your WiFi router, connect your computer to the same router.
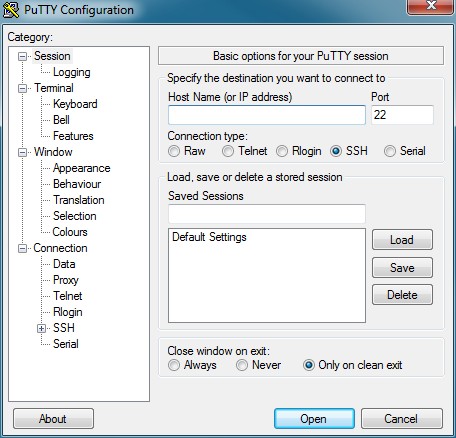
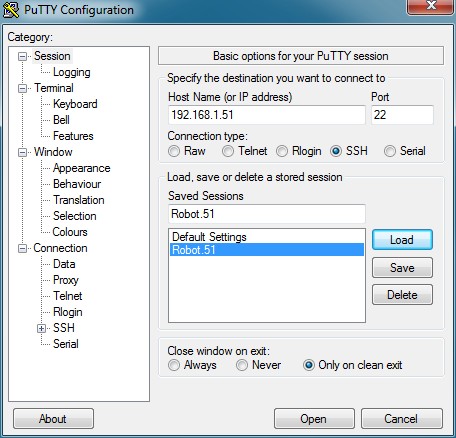
Now in order to download and run programs on your robot, you will need to start a process running on the robot. To do that we will need to connect to the robot using a SSH terminal. For this purpose we will be using PuTTY which you can find in the PiUtil folder of your RobotTools folder. Double click on the putty.exe application and you should see the following window:
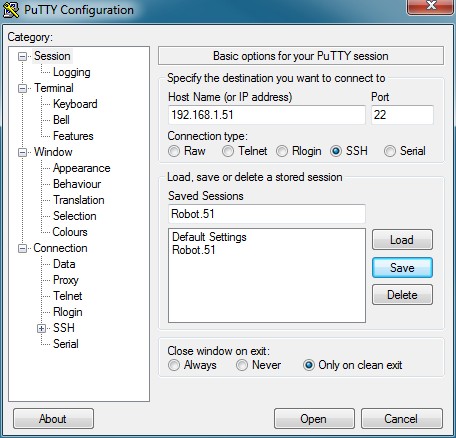
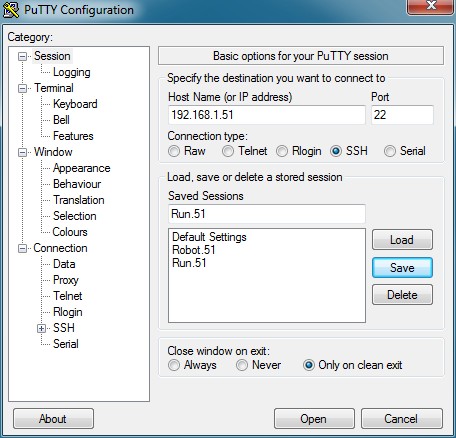
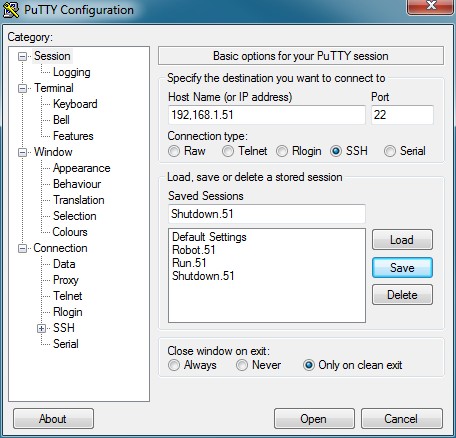
The first thing we will do is create a saved session that will simply allow us to open a SSH terminal and logon to our robot. To do this we will enter the IP address of our robot in the Host Name field, and give it a session name. You, of course, need to know the IP address of your robot. If you have configured your robot as an access point using the Pi Zero SD image I provided, then your IP address will be 192.168.1.1. If you are using the Pi 3 as an access point, your IP address will be 172.24.1.1. If you have configured your robot to connect to your WiFi network, you will need to use whatever IP you have set. For this example, my robot connects to my WiFi network and I have assigned it the address 192.168.1.51.
You can see that I have set the IP to 192.168.1.51 and have named the session Robot.51 (I added the 51 so that I can configure PuTTY sessions for multiple robots and keep track of which is which). Be sure to click the Save button so this session is added to the Saved Sessions as shown.
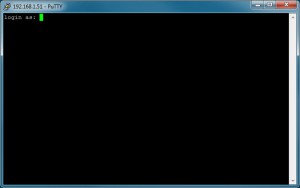
Now, assuming that your robot is on and you are connected to it’s WiFi network, you should be able to click the Open button to open a SSH terminal window to log into your robot:
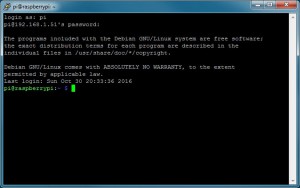
The default user name and password is ‘pi’ and ‘raspberry’ respectively. Logging in should now give you the following:
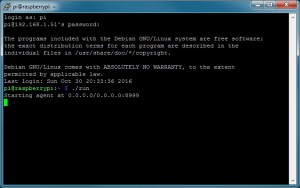
At this point you can start the program that will allow you to download and run your Eclipse programs by typing ‘./run’:
This is a perfectly acceptable way to start this program on your robot (and this is how you would have to do it on a Mac), but I have created a way to automate the process using the Driver Station. So at this point we are going to close this SSH window.
Now we will configure a PuTTY session that will automatically log us into the robot and run the required program. In your PiUtil folder, double click on the putty.exe program again. Then select your robot session (in my case it is called Robot.51) and click the Load button:
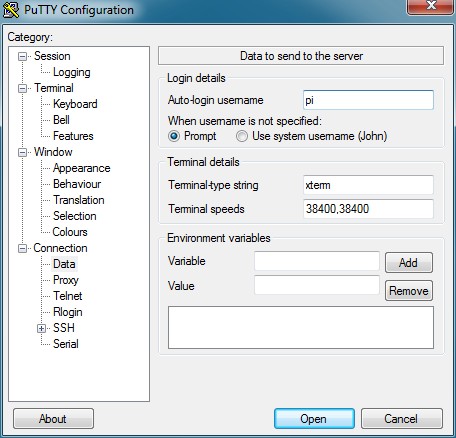
Now click on the Data entry in the Catagory list on the left and enter ‘pi‘ in the Auto-login username field:
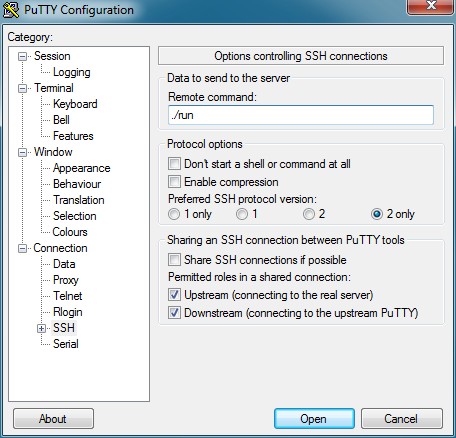
Then click on SSH entry in the Category list on the left and enter ‘./run‘ in the Remote Command field:
Finally click back on the Session entry, and enter a new session name (in my case I am using Run.51), and click the Save button.
Now you can close the PuTTY window.
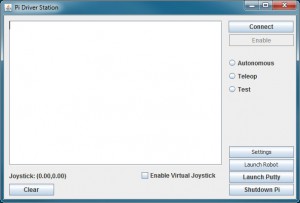
Next go back to your PiUtil folder and double click on the PiDriveStation.cmd file to launch the Driver Station.
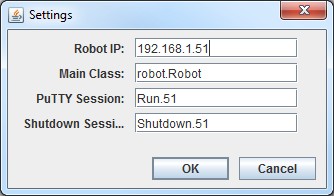
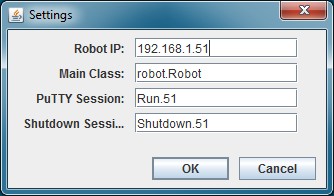
We now need to configure it so that it knows what the IP of our robot is, as well as the PuTTY configurations we are using. Click on the Settings button and enter the IP for your robot, and the name of the ‘Run’ session you configured previously. Leave the Main Class and Shutdown Session fields as is. In my case, the Settings dialog now looks like:
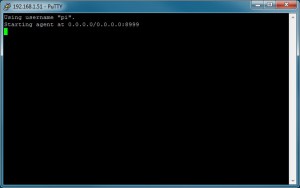
Click OK and then in the Driver Station window click the Launch Putty button. This should open a new SSH window, automatically log onto your robot, and run the required ‘./run’ command:
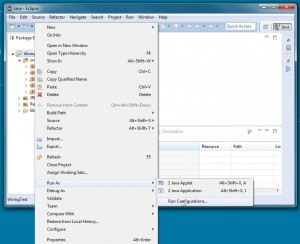
Now we are ready to run our robot program, but we must first create a proper run configurations for it in Eclipse. Switch back to Eclipse and right click on the project WiringTest and choose the Run As / Run Configurations option as shown:
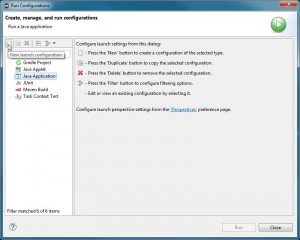
Then select Java Application and click on the New button in the upper left as shown:
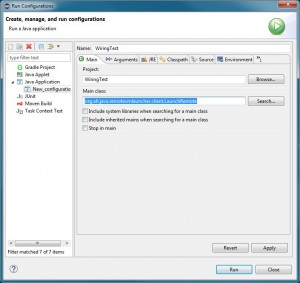
Change the Name to WiringTest and click on the Search button and set the Main class to org.ah.java.remotevmlauncher.client.LaunchRemote.
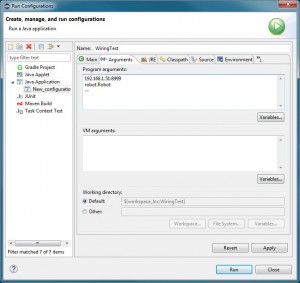
Switch to the Arguments tab and enter the following in the Program arguments field:
Note that you will need to use the IP of your robot in place of the 192.168.1.51 address you see here.
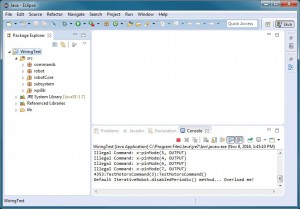
Now click the Apply button and then Run. You should then see something like this in the Console window of Eclipse.
If you get a bunch of errors in the Console window then you have something configured wrong.
The final thing we need to do is to provide a way to properly shut down our robot. We can simply unplug it, but the Raspberry Pi, like most computers, does not like to have it’s power simply shut off and doing so can possibly corrupt the file system. It is, therefore, better to shut it down in an orderly manner.
Do do this, we are going to create a new PuTTY session that will automatically shut the Pi down. Go to the PiUtil folder and launch the PuTTY terminal. Click on your Run saved session and click Load.
Then click on SSH on the left and change the Remote command to ‘sudo shutdown now’:
Then click on the Session entry in the Category list on the left and enter a new name for this session (in my case I named it Shutdown.51).
Close the PuTTY window and switch to the Driver Station and click the Settings button. Make sure the Sutdown Session is set to whatever you just named your new session:
Now you should be able to click the Shutdown Pi button on the Driver Station and the Raspberry Pi should shut down. Give it about 20-30 seconds and then you can safely turn it off.
You are now ready to run the wiring test.

