In this chapter we will list all of the parts required to build the robots used for the tutorials, including possible sources for those parts.
The brains of the robot will consist of a Raspberry Pi. Currently only the Raspberry Pi 3B/3B+ is supported but I hope to support the Pi 4 soon.
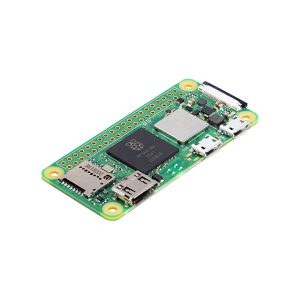 |
Raspberry Pi Zero 2W. These are available from a number of sources but be sure that you get the version 2 because the original version does not support Java 8 which is required for WPIlib. |
The following set of parts are all 3D printed and the STL files can be found here.
 |
Robot’s main Chassis. |
 |
This is the Motor Mount for the motor. You will need two of these but note that there is a left and right version. |
 |
Rear Swivel Wheel Mount. |
 |
This is the IR Sensor Mount. |
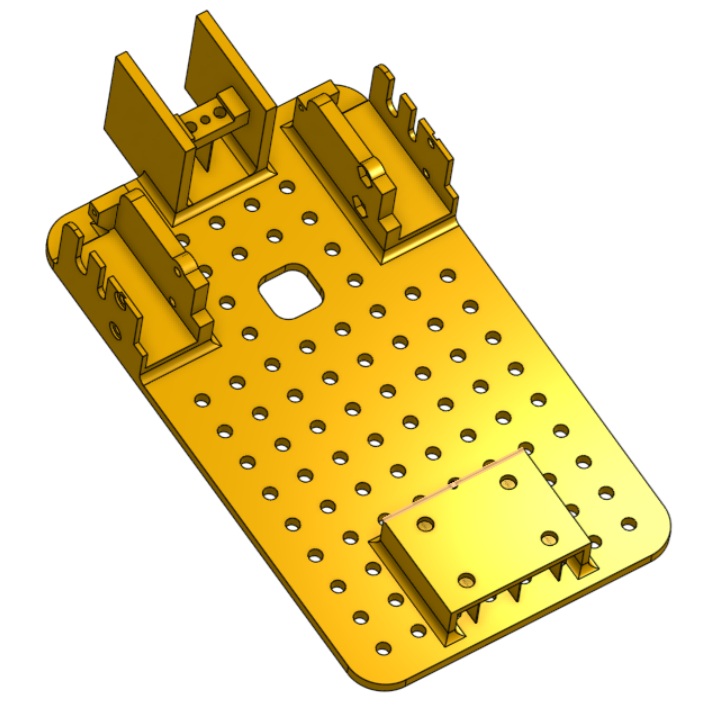 |
The above five parts can be assembled into the complete chassis. Alternately you can print this file which is the entire chassis combined as a single piece. |
 |
This is the Battery Mount used to mount the NiMh battery. |
 |
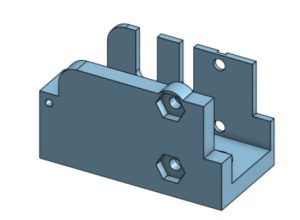
This is the Raspberry Pi Mount. |
 |
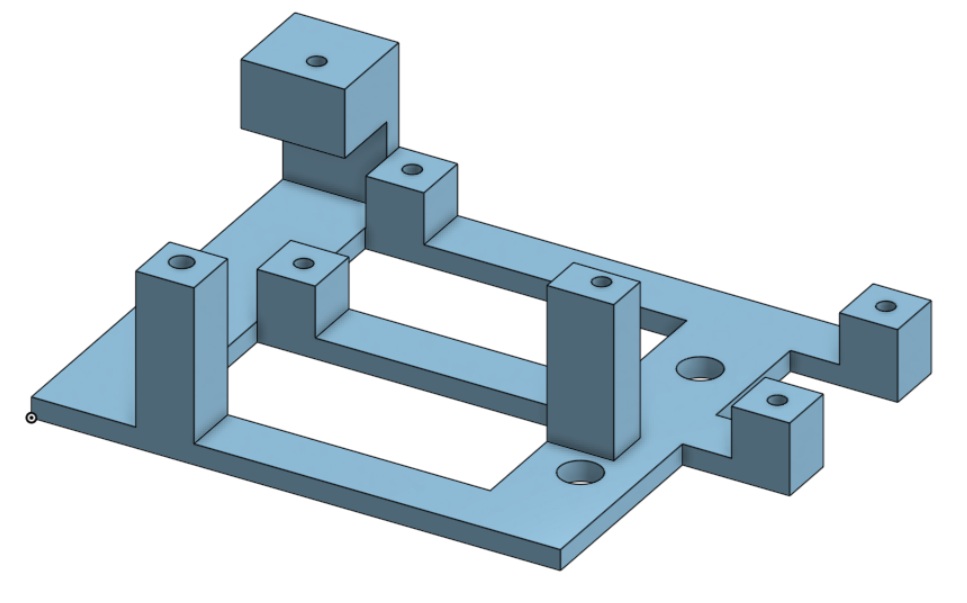
This is the Motor Controller Mount. |
All of these parts can be printed without support if you orient them on the print bed as shown below. Remember that if you print the combined chassis you will not need to print the five component parts.
The following is the set of miscellaneous ‘off the shelf’ parts with links to where you might find them. Note that the links below are mere suggestions and should not be seen an endorsement of that particular vendor.
|
|
Motor controller. This a L298N motor controller which uses PWM signals from the Arduino to control up to two motors at up to 2 amps. |
|
|
IR Sensor. This is a TCRT5000 Infrared Sensor and is used to detect white and black lines. You will need two of these. |
|
|
Swivel Wheel. This is used for the rear wheel of the robot. |
|
|
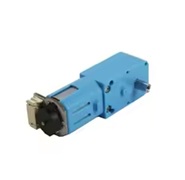
You will need two TT motors with encoders for the drive train. The ones that I am using come from Aliexpress and can be found here. You should choose the blue motor (Metallic Gear) which has a 1:90 gear reduction. I have not been able to find these motors from a US supplier, however you could use this motor from Sparkfun instead. It has a 1:48 reduction and will not be a controllable but will work for the Minibot. I would not recommend them for use with the SwerveBot, however. |
|
|
Drive Wheel. You will need two of these to attach to the Drive Motors. You can purchase these separately from the motors, but you can also find them bundled with the motors. |
 |
20 cm, 40 pin Male/Female Dupont Cable. |
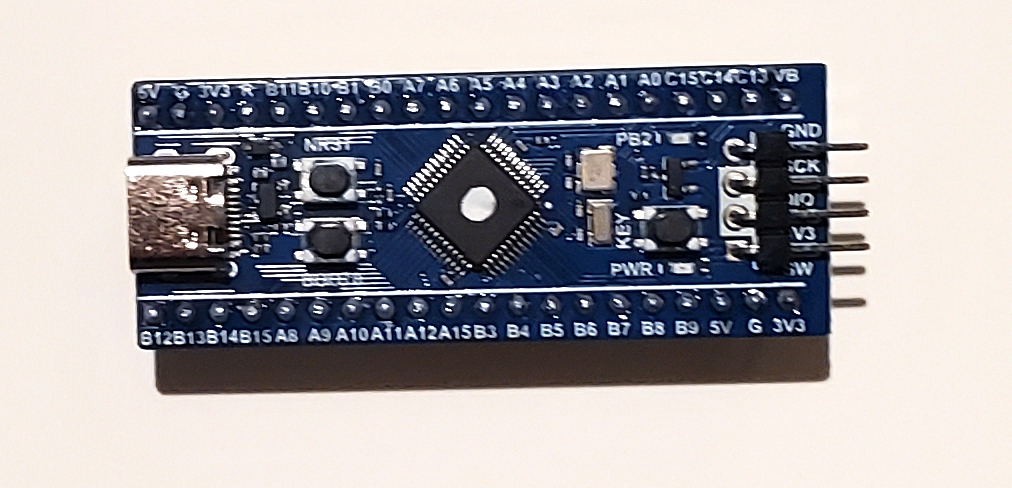 |
You will need a Blue Pill microcontroller. You can find these on Amazon by searching for “blue pill microcontroller” but care must be taken as many of these use a cloned chip, some of which do not work properly. It is difficult to tell which ones are cloned because even ones which claim to have the original chip sometimes do not. If you are willing to purchase from Aliexpress, I have found that this vendor has consistantly sold original chips. |
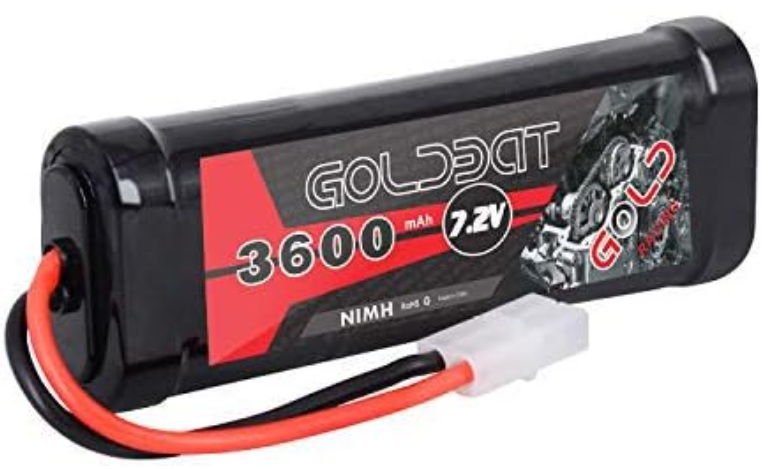 |
7.2 NiMh Battery. You can also use a 2s LiPo battery if you prefer, but the NiMh battery is safer and you don’t have to worry about discharging it too far. |


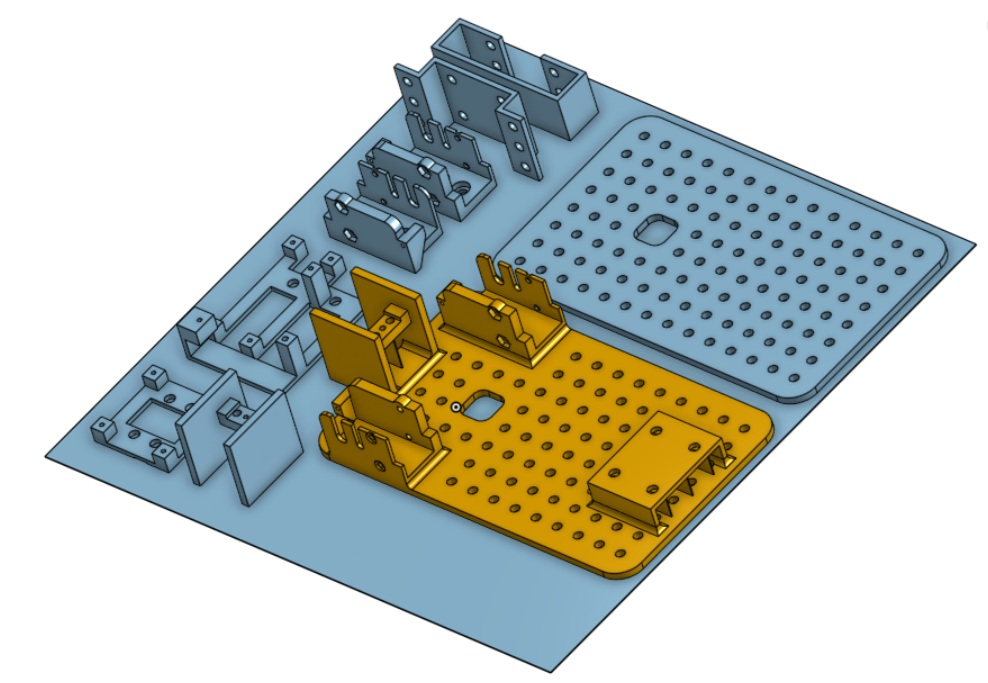
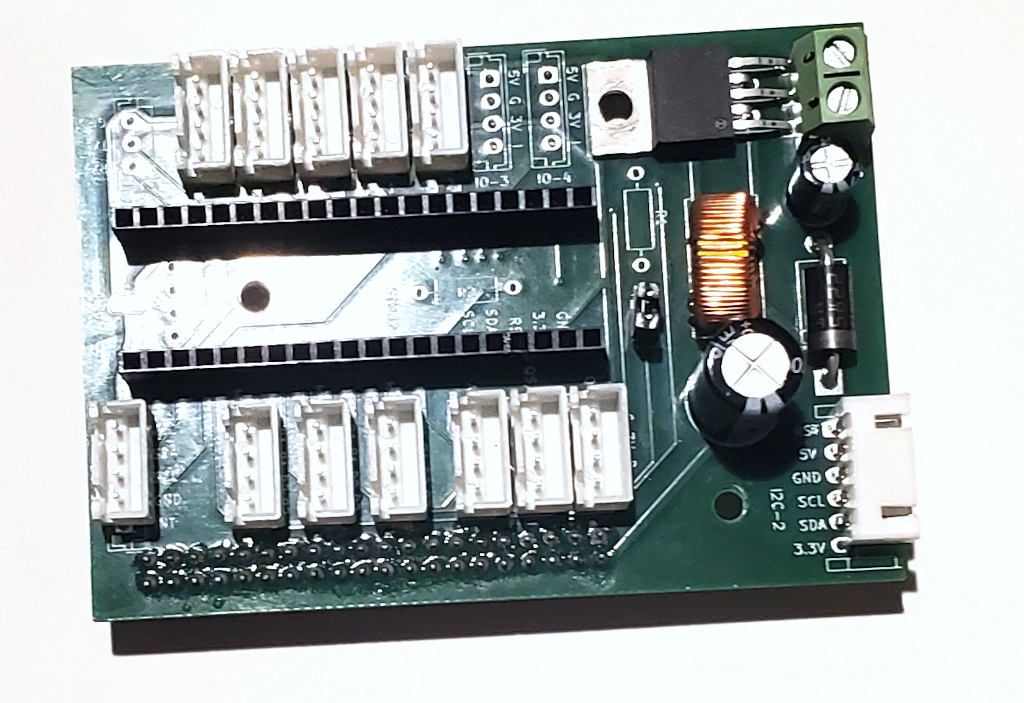
You will also need a way to breakout the pins on the Blue Pill microcontroller so that you can connect them to the motors and motor controllers. It is possible to wire this board by hand but it is a lot of work so I have created a custom breakout board. This board also has a voltage regulator which can supply the 5v needed by the Blue Pill and the Raspberry Pi. If you would like one of these, please contact me at programming@gabysoft.com.
You will also need a variety of screws and bolts.